
Tackling mold remediation yourself can feel like a smart way to save money—until it isn’t. Many homeowners dive into DIY mold cleanup with good intentions, only to make hidden mistakes that spread spores, worsen health issues, and dramatically increase repair costs. What starts as a small patch behind a sink can quickly turn into a five-figure problem inside your walls, floors, and HVAC system.
Below are seven of the most common (and costly) DIY mold mistakes, plus what you should do instead to protect your home, wallet, and health.
Why DIY Mold Remediation Is Riskier Than It Looks
On the surface, mold looks like a simple cleaning job: see mold, spray cleaner, wipe away. The reality is much more complicated. Mold colonies:
- Release microscopic spores that travel through the air
- Often indicate underlying moisture or structural issues
- Can grow inside walls, under floors, and in HVAC systems
- May trigger allergies, asthma, or more serious health problems
According to the U.S. Environmental Protection Agency, mold growth larger than about 10 square feet usually warrants professional assessment and remediation (source: EPA). Yet many homeowners try to handle much bigger issues themselves—and that’s where the real trouble begins.
Mistake #1: Treating Mold as Just a Surface Stain
The first shocking mistake is assuming mold is only what you can see. Many DIYers scrub away visible spots and believe the job is done.
Why this backfires
- Mold is usually a symptom, not the root problem. The real issue is moisture from leaks, condensation, or poor ventilation.
- Mold hyphae (the root-like structures) can penetrate porous materials like drywall, wood, carpet, and insulation.
- Simply wiping or painting over mold leaves viable growth behind, which continues to spread out of sight.
What to do instead
- Investigate: Look for leaks, condensation, or humidity issues in the area.
- Assess the scope: Check adjacent walls, flooring, baseboards, and ceilings for discoloration, softness, or musty odor.
- If the affected area is more than a few square feet, call a professional for an inspection. They may use moisture meters and infrared cameras to find hidden growth.
Mistake #2: Using Bleach as a Cure-All
Bleach is the go-to “solution” for many DIY mold remediation attempts—but it’s one of the most misunderstood tools in the toolbox.
The problems with bleach on mold
- Limited penetration: Bleach doesn’t soak well into porous materials (wood, drywall, fabric), so it may kill surface mold but not the roots.
- Moisture left behind: Bleach is mostly water. Using it on porous materials can add moisture, creating an even better environment for mold.
- Corrosive and harmful fumes: Bleach can damage surfaces and release fumes that irritate eyes and lungs, especially in enclosed spaces.
Safer alternatives
For small, non-porous surfaces (like tile, glass, metal):
- Use a detergent solution or an EPA-registered mold cleaner.
- Rinse and dry thoroughly.
For porous materials:
- Understand that many mold-damaged porous materials must be cut out and replaced, not just cleaned.
- When in doubt, consult a mold remediation specialist before soaking structural materials in any cleaner.
Mistake #3: Ignoring Personal Protective Equipment (PPE)
One of the most alarming DIY mold remediation mistakes is skipping proper protective gear. If you’re smelling a strong musty odor while you work, you’re inhaling spores.
Common PPE mistakes
- Cleaning mold with no mask or just a simple dust mask
- Wearing regular clothes that spread spores throughout the house afterward
- Not using gloves or eye protection
Minimum safety precautions
If you tackle very small mold issues yourself, you should at least use:
- N95 or better respirator (not just a surgical or cloth mask)
- Non-porous gloves (nitrile, rubber, or neoprene)
- Goggles without ventilation holes (to prevent spore entry)
- Disposable coveralls or clothes that can be immediately washed in hot water
Even with PPE, remember: this only helps protect you; it doesn’t guarantee that your cleanup is thorough or safe for the rest of your home.
Mistake #4: Failing to Contain the Work Area
Mold spores are incredibly light and easily disturbed. A single misguided cleaning session can launch millions of spores into your home’s air and HVAC system.
How DIYers accidentally spread mold
- Running fans while scrubbing or cutting moldy materials
- Leaving doors and vents open in work areas
- Using regular household vacuums instead of HEPA vacuums
- Dragging contaminated debris through clean rooms
Proper containment basics
Professional mold remediation typically includes:
- Isolating the area with plastic sheeting (6-mil) and tape.
- Negative air pressure using specialized equipment to pull air out of the containment area and through HEPA filters.
- Sealing HVAC vents in the work area.
- HEPA air filtration during and after removal work.
For homeowners, trying to replicate this without training can be complex. But at minimum, you should:
- Close doors and seal gaps where feasible.
- Turn off HVAC in the affected zone while working.
- Avoid fans that blow air from the moldy area into the rest of the home.
Mistake #5: Not Fixing the Moisture Source First
Removing mold without stopping the water is like mopping up a flooded floor without turning off the tap. The mold will simply return.
Typical hidden moisture sources
- Slow plumbing leaks in walls or under sinks
- Roof leaks around chimneys, vents, or flashing
- Condensation on cold surfaces (e.g., basement walls, pipes)
- Poor bathroom or kitchen ventilation
- High indoor humidity from inadequate HVAC or dehumidification
Costly consequences
- You spend time and money cleaning or replacing materials, only for mold to reappear within weeks or months.
- Repeated exposure and multiple “minor” cleanups add up to more extensive damage.
Always address the moisture issue before or at the very least alongside mold remediation. This may involve:
- Plumbing repairs
- Roof or flashing work
- Installing or upgrading exhaust fans
- Adding dehumidifiers or improving drainage around the foundation
Mistake #6: Underestimating Structural and HVAC Involvement
Many DIYers assume mold is limited to what their eyes can see. But by the time you notice a stain or smell, the contamination may be more widespread.
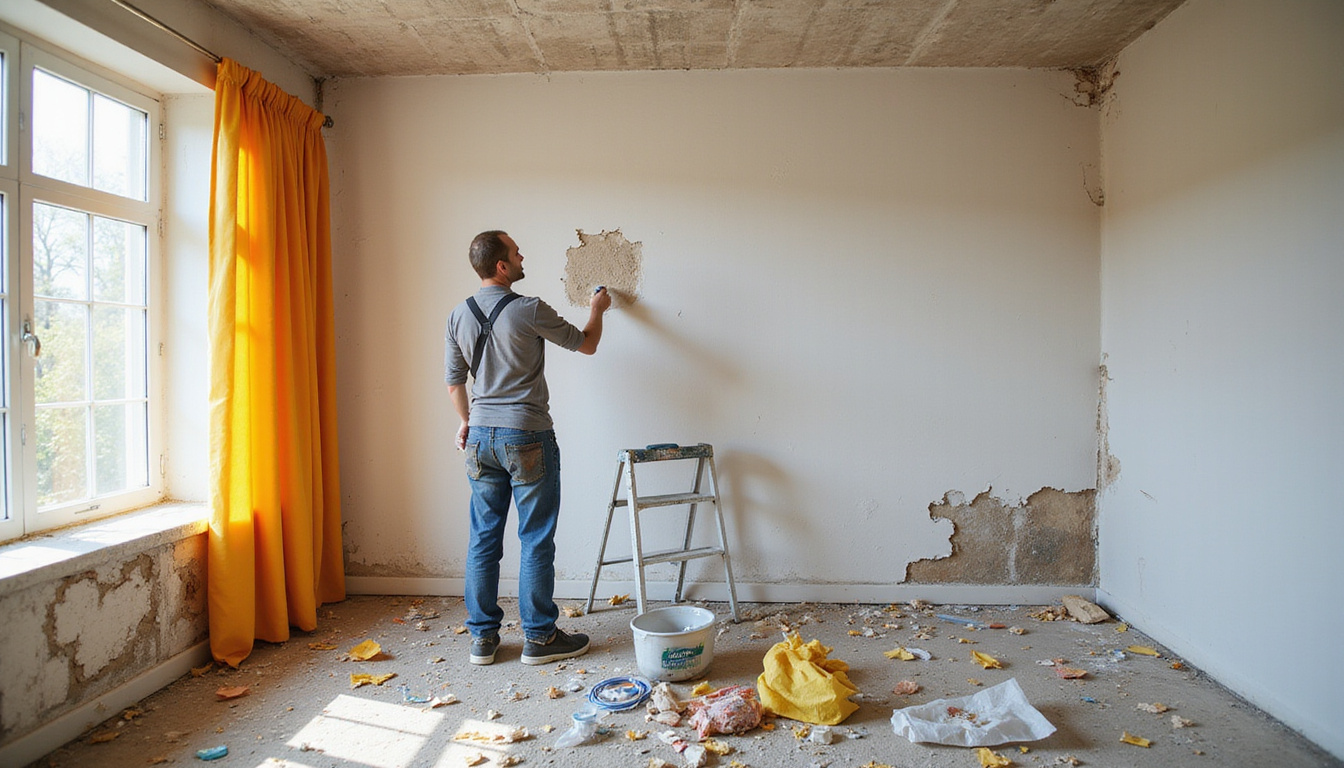
Overlooked areas where mold loves to hide
- Inside HVAC ducts and air handlers
- Behind baseboards and crown molding
- Under flooring and carpets
- Inside insulation and wall cavities
- Behind shower surrounds and tile
Trying to clean only the “obvious” mold without checking connected spaces allows colonies to survive and keep pumping spores into your breathing air.
When you must consider professional help
You should strongly consider calling a professional mold remediation company if:
- The mold-affected area is larger than 10 square feet.
- You suspect mold in HVAC systems or ducts.
- Multiple rooms or levels show signs of mold or musty odor.
- Household members already have respiratory or immune issues.
Professionals can provide testing or inspection to define the scope, create a remediation plan, and ensure that hidden contamination isn’t missed.
Mistake #7: Skipping Post-Remediation Verification
The final shocking mistake is assuming “it looks better” means the mold problem is solved. Appearance alone isn’t a reliable indicator of successful mold remediation.
Why visual inspection isn’t enough
- Spores are microscopic; you can’t see them floating in the air.
- Surfaces may be cleaned, but moisture levels can still be high.
- Residual contamination in carpets, ducts, or hidden spaces may persist.
What proper verification looks like
Professionals may use:
- Moisture readings to ensure materials are dry to safe levels.
- Air and surface sampling by a third-party inspector (in some cases).
- Clearance criteria, such as no visible mold, normal moisture content, and acceptable air sample comparisons to outdoor levels.
For homeowners, you can at least:
- Use a moisture meter (inexpensive models are available) to confirm structural dryness.
- Monitor for recurring musty odors or discoloration.
- Consider third-party mold testing if the initial problem was extensive.
Skipping this step can mean thinking your home is safe while mold quietly regrows behind the scenes.
A Simple Checklist Before You Attempt DIY Mold Remediation
If you’re tempted to tackle mold yourself, review this quick checklist first:
-
Size of the problem
- Is the visible mold less than about 10 square feet?
- Are there any signs it might be more extensive (multiple rooms, strong odors, past flooding)?
-
Health considerations
- Does anyone in the home have asthma, severe allergies, or a compromised immune system?
- If yes, DIY remediation is usually not worth the risk.
-
Moisture source
- Have you identified and fixed the leak or humidity problem?
- If not, cleaning is premature.
-
Materials affected
- Are porous building materials (drywall, insulation, subfloor) involved?
- If so, they may need removal, not just cleaning.
-
Protection and containment
- Do you have proper PPE (N95 or better, gloves, goggles, disposable clothing)?
- Can you reasonably contain the area to prevent spreading spores?
If you answer “no” or “I’m not sure” to more than one or two of these, bringing in a professional mold remediation company can easily be cheaper than correcting a failed DIY attempt later.
FAQ: Common Questions About Mold Remediation
Q1: Is professional mold removal worth it compared to DIY mold remediation?
Professional mold remediation is often worth the cost when the affected area is larger than 10 square feet, involves HVAC systems or structural materials, or when health issues are present. Pros bring specialized equipment, containment procedures, and verification processes that most homeowners don’t have, reducing the risk of cross-contamination and recurring problems.
Q2: How long does residential mold removal and remediation usually take?
For small to moderate-sized projects, professional mold remediation can take anywhere from 1 to 5 days, depending on the extent of contamination, materials involved, and drying time needed. Large or complex projects—such as those involving multiple rooms, crawl spaces, or attic mold—can take longer due to necessary demolition, drying, and post-remediation testing.
Q3: Can mold remediation companies guarantee the mold will never come back?
No ethical company can guarantee mold will never return, because future moisture problems (leaks, flooding, humidity) are out of their control. However, reputable mold remediation contractors can guarantee that the current contamination is properly addressed according to industry standards, and they’ll usually provide recommendations to reduce the chances of future mold growth.
Don’t Let DIY Mistakes Turn a Small Mold Issue into a Financial Disaster
Mold remediation isn’t just another home improvement project; it’s a health and safety issue that, when handled poorly, can spiral into extensive structural damage and medical concerns. The seven DIY mistakes above—treating mold as a surface stain, overusing bleach, neglecting PPE, failing to contain the area, ignoring moisture sources, underestimating hidden spread, and skipping verification—are precisely what drive small, affordable fixes into multi-thousand-dollar disasters.
If you’re facing anything larger than a small, isolated patch of surface mold—or if you’re unsure how deep the problem goes—reach out to a qualified mold remediation professional. An expert assessment today can save you from costly renovations, prolonged health problems, and recurring mold battles tomorrow. Don’t gamble with your home or your health; schedule a professional inspection and take control of your indoor environment the right way.
Junk Guys Inland Empire
Phone: 909-253-0968
Website: www.mediumspringgreen-snake-472026.hostingersite.com
Email: junkguysie@gmail.com
