Successfully handling sectional removal can mean the difference between a stress-free moving day and a scratched floor, damaged couch, and frayed nerves. Whether you’re rearranging your living room, moving to a new home, or putting your sectional into storage, a little planning and the right techniques go a long way.
This guide walks you step by step through preparing, disassembling, moving, and storing your sectional, with practical tips you can use even if you’re doing everything yourself.
Step 1: Prepare Your Space (and Yourself) Before Sectional Removal
Before you lift a single piece of furniture, preparation is key. Good planning prevents injuries, damage, and last-minute chaos.
Measure Doorways, Hallways, and the Sectional
Grab a tape measure and note:
- Height and width of doorways
- Width of hallways
- Stairwell clearance (including turns and railings)
- Dimensions of each sectional piece (length, depth, height)
Compare the sectional pieces to your narrowest passage. This tells you:
- Which pieces may need to be carried vertically
- Whether you should remove doors from hinges
- If you need to fully disassemble legs, arms, or backs
Clear a Path for Easy Removal
Create a clear, obstacle-free route from the current room to the exit:
- Move rugs that could cause slipping or tripping
- Remove small tables, lamps, or décor
- Secure pets and keep children away during the move
- Protect low-hanging light fixtures
Lay down furniture moving blankets or flattened cardboard along tight spots or near doorways to protect both the couch and walls.
Gather the Right Tools and Supplies
Having supplies ready before you start sectional removal saves time and frustration:
- Furniture sliders (for hardwood, tile, and low-pile carpet)
- Moving blankets and/or thick quilts
- Stretch wrap or plastic wrap
- Packing tape (and a tape gun, if possible)
- Zip-top bags for hardware
- Screwdrivers, Allen keys, or socket set (as needed)
- Permanent marker and labels
- Work gloves and closed-toe shoes
If you’ll be moving the couch down stairs or into a truck, a hand truck or dolly and lifting straps are also helpful.
Step 2: Disassemble Your Sectional the Smart Way
Disassembling the sectional correctly makes it lighter, easier to maneuver, and much less likely to get damaged.
Identify How Your Sectional Connects
Most sectionals connect in one of these ways:
- Metal brackets or clips: One piece hooks into another.
- Bolt-on or screw-on connectors: Typically under the frame.
- Interlocking rails: Long metal or wood rails that slide into each other.
- Modular sections: Standalone pieces that simply butt together.
Tip: Flip up couch cushions and inspect along the bottom edges and underside for visible hardware or connections. Consult the manufacturer’s website or manual for guidance if available.
Disconnect Sections Carefully
Follow this general process:
- Remove cushions and pillows and set them aside. This reduces weight and keeps fabrics clean.
- Lift slightly while separating: Have one person steady each section, then lift gently while sliding the pieces apart. Avoid forcing them if they’re stuck.
- Check for hidden connections: If it doesn’t come apart easily, there may be screws, brackets, or clips you haven’t seen yet.
- Work from the outside in: Take off chaise lounges or corner pieces last, as they often anchor the layout.
Never yank or twist sections apart. That’s how frames crack and brackets bend.
Detach Legs, Arms, or Backs (If Removable)
On some sectionals, removing additional parts makes sectional removal much easier, especially in tight spaces.
- Legs/feet: Often screw off by hand or with a wrench.
- Armrests or backs: May unbolt from the main frame. Check underneath.
- Headrests: Sometimes slide out of tracks or detach via concealed hardware.
Place all screws, bolts, and small hardware in individual labeled bags, e.g., “Left chaise legs,” and tape each bag to the matching piece of furniture.
Step 3: Protect Your Sectional for Moving or Storage
A well-protected couch looks better, lasts longer, and is less likely to suffer expensive damage during sectional removal and transport.
Wrap Each Piece Properly
For short moves within the home, blankets and careful handling might be enough. For longer moves or storage:
- Wrap frames in moving blankets: Cover completely and secure with packing tape or stretch wrap.
- Use stretch wrap to protect fabric/leather: After blankets are on, wrap in plastic to keep dirt and moisture out.
- Cover cushions individually: Use plastic bags or furniture wrap to protect from dust and spills.
Avoid placing tape directly on leather or fabric, which can leave residue or cause peeling.
Protect Floors, Walls, and Doorframes
- Use furniture sliders to move heavy pieces over hardwood or tile without scratching.
- Wrap towels or blankets around tight door frames to avoid scrapes.
- Move slowly around corners and have a spotter call out when you’re close to walls or fixtures.
These extra minutes of care can save you from expensive repair work.
Step 4: Lift and Carry Sectional Pieces Safely
Improper lifting is one of the biggest risks during sectional removal—for both people and furniture.
Use Proper Lifting Technique
- Bend at your knees, not your waist.
- Keep the furniture close to your body.
- Lift with your legs, not your back.
- Avoid twisting while carrying; pivot with your feet.
- Communicate with your partner (“ready?”, “turning left”, “step down”).
If a piece feels too heavy or awkward, stop and adjust your approach or add another helper.
Use Tools to Your Advantage
- Dollies/hand trucks: Great for long hallways or elevator rides. Secure the piece with straps.
- Shoulder moving straps: Distribute weight more evenly and reduce strain.
- Ramps: Helpful for loading into trucks or over small steps.
In multi-story homes, plan breaks on landings and be extra cautious on stairs.
Step 5: How to Load a Sectional into a Moving Truck
If you’re doing the move yourself, smart loading will safeguard your sectional and maximize space.
Position Sectional Pieces Strategically
- Place heavier, more rigid sections (like corner units) against the truck’s walls.
- Stand taller pieces on their ends if structurally sound and well-padded.
- Keep lighter cushions and pillows for filling gaps after large furniture is loaded.
Avoid stacking heavy items on top of upholstered pieces to prevent warping and fabric damage.
Secure Everything to Prevent Shifting
- Use ratchet straps or rope to tie large pieces to the truck’s side rails.
- Wedge cushions or moving boxes between furniture to prevent sliding.
- Double-check stability before closing the truck door.
A well-secured load significantly reduces damage risk over bumpy roads (source: American Moving & Storage Association).
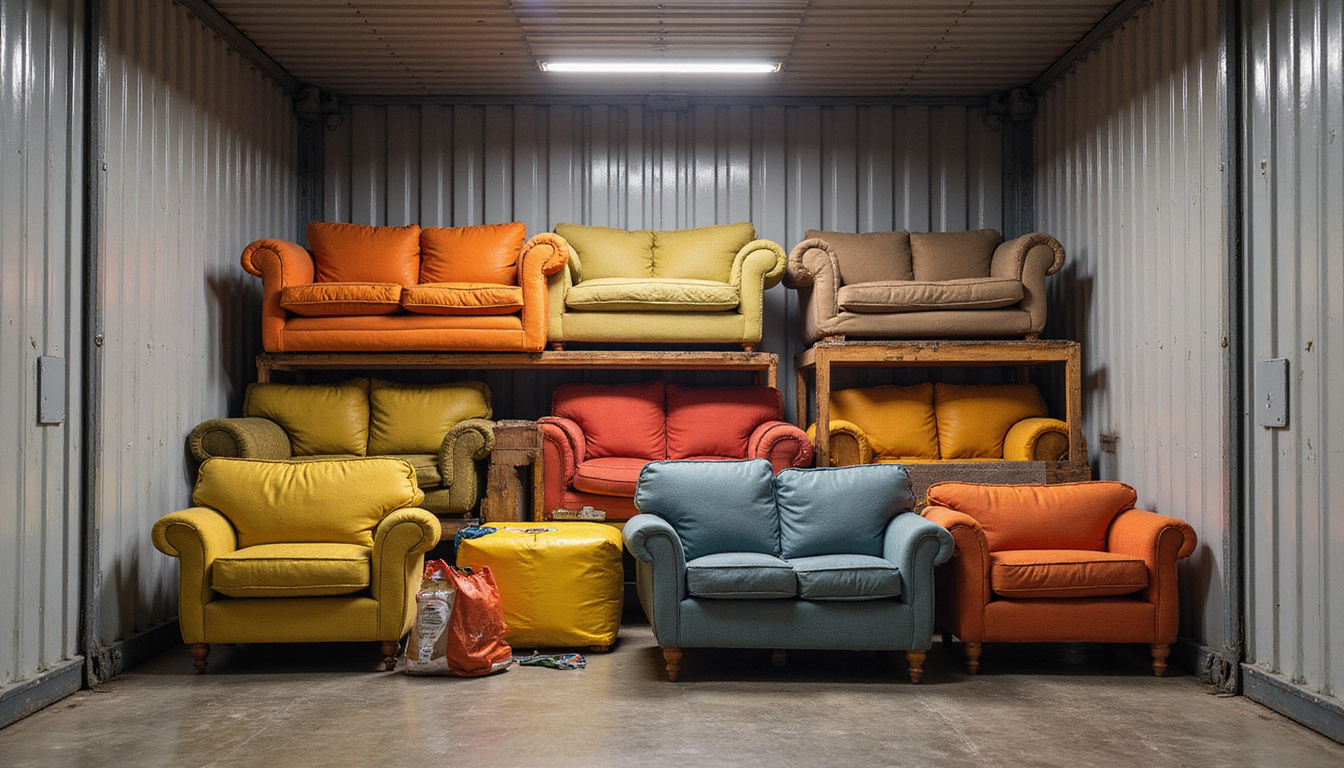
Step 6: Best Practices for Storing a Sectional Couch
If sectional removal is just the first step and your couch is going into storage, how you store it matters for long-term condition.
Choose the Right Storage Conditions
- Climate-controlled storage is best for leather and high-end fabrics.
- Avoid damp basements or non-insulated garages where humidity and temperature fluctuate.
- Keep your sectional off bare concrete floors using pallets, blocks, or a rug.
Moisture and extreme temperatures can lead to mold, warping, and material breakdown.
Store Sectionals Upright, Not Piled
- Stand larger pieces on their sides to save space and reduce pressure on cushions.
- Do not stack heavy items on top of the couch.
- Leave a few inches of space around each piece for airflow.
Keep cushions either upright on end or flat on a clean surface—not crushed under boxes.
Use Breathable Covers for Long-Term Storage
Plastic wrap is great for short-term protection during sectional removal and transit, but for long-term storage:
- Use breathable covers (cotton or canvas) to prevent moisture buildup.
- Leave small vents or gaps so air can circulate.
- Check on your sectional every few months if possible.
Step 7: Reassembling Your Sectional After the Move
Once you’ve completed sectional removal and transport, you’ll want your couch back in service quickly—without wobbles or uneven sections.
Place and Connect the Pieces
- Position the major pieces roughly where you want them in the room.
- Align connectors (brackets, clips, rails) before pushing sections together.
- Press or slide firmly until you feel a secure lock—there should be no obvious gap between connected pieces.
- Attach legs, arms, or backs using your labeled hardware bags.
Use a level if you want a perfectly even seating surface, especially on older floors.
Final Touches for Comfort and Appearance
- Replace cushions and pillows, fluffing them to restore shape.
- Spot clean any visible marks that occurred during the move.
- Test each seat and connector by sitting and gently shifting your weight to ensure stability.
Now is also a good time to reassess the room’s layout and traffic flow and make adjustments.
Common Mistakes to Avoid During Sectional Removal
A few pitfalls often turn a simple couch move into a headache. Watch out for:
- Skipping measurements and discovering halfway through that a piece won’t fit.
- Dragging unprotected furniture, causing tears or deep scratches on floors.
- Forgetting to label hardware, making reassembly frustrating.
- Overloading one person instead of sharing the weight.
- Using tape directly on upholstery, which can damage fabrics and finishes.
Being mindful of these issues saves time, money, and stress.
FAQ: Sectional Removal and Moving Your Couch
Q1: How do I move a sectional through a narrow doorway?
If your sectional won’t fit laid flat, turn individual pieces on their side or end and angle them through the doorway, starting with the narrower end. Remove legs and detachable arms to reduce overall dimensions. In some cases, temporarily removing the door from its hinges provides just enough extra space for smoother sectional removal.
Q2: Can I move a sectional by myself, or do I need help?
Technically, a single person can slide lighter pieces using furniture sliders, but for safe sectional couch removal, at least two people are strongly recommended. Larger corner pieces are bulky and awkward, even if not extremely heavy. Extra hands prevent injuries, protect your home, and reduce the risk of dropping or bending frames.
Q3: What’s the best way to store a sectional couch long-term?
For long-term sectional sofa removal and storage, disassemble the couch, wrap frames in blankets, and use breathable covers instead of airtight plastic. Store pieces upright on pallets or a rug in a dry, preferably climate-controlled space. Keep boxes and heavy items off the couch to avoid permanent indentations and frame stress.
Ready to Make Your Sectional Removal Simple and Stress-Free?
You don’t have to dread moving your couch. With smart planning, careful disassembly, proper wrapping, and safe lifting techniques, sectional removal becomes a manageable project instead of a major ordeal. Whether you’re rearranging one room or relocating to a new city, using the steps above will protect your furniture, your home, and your back.
If you’re short on time, don’t have extra hands, or simply want peace of mind, consider partnering with a professional moving or furniture-removal service that specializes in sectionals. Reach out today to get a quick quote, ask questions about your specific couch model, and schedule expert help so your next move is as smooth—and comfortable—as your favorite spot on the sofa.
Junk Guys Inland Empire
Phone: 909-253-0968
Website: www.mediumspringgreen-snake-472026.hostingersite.com
Email: junkguysie@gmail.com