If you’re planning a kitchen or bathroom overhaul, mastering smart cabinet removal can shave days off your remodel and save you serious money. Pros move fast not just because they’re strong or experienced, but because they follow specific strategies that prevent damage, avoid surprises, and keep the space organized for the next trades. This guide pulls back the curtain on those methods so you can tackle cabinet removal safely, efficiently, and with far less stress.
Why Smart Cabinet Removal Matters More Than You Think
Cabinet removal is often treated as “just demo,” but it’s actually the foundation of your entire remodel. Done badly, it can:
- Damage walls, floors, and ceilings you planned to keep
- Slow down electricians, plumbers, and installers
- Create safety risks and unexpected repair costs
- Destroy cabinets you hoped to donate, sell, or reuse
Done well, it can:
- Keep your remodel on schedule
- Reduce dust and debris throughout the house
- Preserve existing finishes and utilities
- Stretch your budget by allowing resale or reuse of old cabinets
Pros focus on planning just as much as swinging a pry bar. Here’s how they quietly stack the deck in their favor.
Secret #1: Pros Plan Cabinet Removal Like a Mini Construction Project
Most homeowners start unscrewing doors; pros start with a walkthrough.
Make a quick “demo plan”
Before any cabinet removal, walk the space and answer:
- Are any cabinets being reused or relocated?
- Are the countertops being removed or saved?
- Where are the water shutoffs, gas lines, and electrical?
- What walls are staying, moving, or coming out?
Take photos from multiple angles. Label each “zone” (sink wall, fridge wall, island) so you can track what came from where. This helps if you’re donating, reselling, or need to show a contractor how things were originally installed.
Check for permits and surprises
In many areas, pure cabinet removal doesn’t require a permit, but moving plumbing, gas, or electrical often does. If your remodel involves more than just cabinets, ask your local building department what’s needed (many have homeowner guides online – for example, see your city or county building office, or general guidance from resources like the International Code Council (source: ICC)).
Secret #2: Pros Prep the Room to Save Hours Later
Fast cabinet removal isn’t just about speed at the wall; it’s about reducing chaos everywhere else.
Protect and clear the space
Before touching a screw:
- Remove everything from cabinets and drawers
- Roll up rugs, move furniture, and clear adjacent rooms
- Cover floors with heavy rosin paper, Ram Board, or drop cloths
- Tape plastic over doorways and vents to control dust
Pros know that five minutes adding floor protection can prevent a costly scratch in hardwood or tile.
Set up a “demo station”
Pros rarely carry each screw to the trash. They set up:
- A large trash can (for non-recyclables)
- Buckets or boxes for metal (hinges, screws, brackets)
- A staging area for reusable cabinets and countertops
This keeps the work zone clear and prevents tripping hazards, which is a hidden time-saver and safety booster.
Secret #3: Always Disconnect Utilities First (In the Right Order)
One of the most important cabinet removal secrets: don’t rely on “it’s probably off.” Confirm.
-
Electric
- Turn off breakers to kitchen outlets and lighting circuits.
- Use a non-contact voltage tester on outlets, switches, and under-cabinet lights.
- Unplug or disconnect built-in appliances attached to cabinets (microwaves, ovens, etc.).
-
Water
- Shut off hot and cold valves to sink and refrigerator.
- Try the faucet to verify there’s no water flow.
- Disconnect supply lines and drain, keeping a bucket and towel handy.
-
Gas (if applicable)
- Turn off the gas valve to the range or cooktop.
- If you smell gas at any point, stop and call your gas provider or a licensed pro.
Pros spend more time than you’d think on this step because hitting a live wire or water line mid-demo can add days of repairs and inspection delays.
Secret #4: How to Remove Countertops Without Destroying Everything
Countertops often lock the cabinets in place, so they come first. A careful approach makes the rest of the cabinet removal easier.
Laminate and wood tops
- Look underneath for screws or brackets at the cabinet rails.
- Remove all fasteners before prying.
- Use a wide putty knife or thin pry bar along the backsplash to break any caulk seal.
- Lift with a helper, working in sections if the top is long or fragile.
Stone and solid surface tops
Stone is heavy and brittle. Pros treat it with respect:
- Cut any caulk between countertop and wall.
- Look for adhesive blobs on cabinet tops, not just screws.
- Gently work putty knives and shims in to break the bond.
- Use multiple people to lift, keeping it level to avoid cracks.
If you want to reuse or sell the countertop, avoid aggressive prying. Slow, even lifting and lots of support are key.
Secret #5: The Pro Order of Operations for Cabinet Removal
Removing cabinets in the wrong sequence causes binding, damage, and frustration. Here’s how pros usually do it:
-
Remove doors and drawers first
- Take off doors (usually just a couple screws per hinge).
- Pull out drawers and stack them in order.
- This lightens each cabinet and prevents doors from swinging and chipping.
-
Take off trim, molding, and accessories
- Carefully pry crown molding, light valances, and decorative panels.
- Score paint and caulk lines with a utility knife before prying to reduce wall damage.
-
Upper cabinets
- Start with uppers so you’re not leaning over base cabinets.
- Locate screws at the top and bottom rails, and at shared cabinet walls.
- Have a helper support the cabinet as you remove the last screws.
- Pros often back out most screws first, then leave one or two partially in until they’re ready to lift.
-
Base cabinets
- Remove any remaining fasteners at the wall and between cabinets.
- Cut caulk between cabinets and walls or floors.
- Pull cabinets straight out to avoid gouging walls or floors.
This sequence keeps the structure stable and accessible, and it’s one of the biggest reasons pro cabinet removal looks “effortless.”
Secret #6: Pros Know What to Cut (and What Not to)
Sometimes cabinets have been painted into place or glued aggressively. The difference between a clean removal and gouged drywall is usually a sharp blade and patience.
Score every visible seam
- Use a sharp utility knife to cut along:
- Cabinet-to-wall joints
- Cabinet-to-ceiling joints
- Cabinet-to-backsplash joints
- Cut thoroughly through paint and caulk before prying.
Avoid over-prying
If a cabinet won’t budge:
- Stop prying harder.
- Check for hidden screws at:
- Back corners
- Toe kicks
- Under hinge plates
- Where cabinets meet each other
Many “stuck” cabinets are simply still screwed together or to studs.
Secret #7: Keep or Sell? How Pros Maximize Value From Old Cabinets
Many pros quietly turn old cabinets into extra profit by reselling or donating them. You can do the same.
When cabinets are worth saving
Your old cabinets may have value if they:
- Are solid wood or plywood (not heavily damaged particleboard)
- Have modern dimensions (common sizes)
- Have intact doors, hinges, and drawer boxes
- Aren’t water-logged or moldy
Take clear photos before and after cabinet removal and list them locally (Facebook Marketplace, Craigslist, community boards). You may even offset some of your remodel cost.
Donation and reuse options
- Habitat for Humanity ReStore and similar organizations often accept gently used cabinets.
- Garages, basements, and workshops are perfect for repurposed storage.
To preserve maximum value during cabinet removal, avoid unnecessary prying, keep doors and drawers labeled, and store hardware in labeled bags.
Secret #8: Labeling Like a Pro (Even if You’re Not Reusing Cabinets)
Labeling isn’t just for cabinet reuse—it’s a sanity saver for the entire remodel.
Use painter’s tape and a marker to label:
- Each cabinet box (e.g., “Sink Left Base,” “Fridge Upper Right”)
- Matching doors and drawers (same code as the cabinet body)
- Hardware bags (e.g., “Handles – Sink Wall,” “Hinges – Island”)
Why pros do this:
- If you decide mid-project to reuse a cabinet in the laundry or garage, you know what’s what.
- Your contractor or installer can better understand original layout and construction.
- It helps diagnose past issues (e.g., a frequently sticking drawer may correlate to a known wall bow).
Secret #9: Avoiding Damage to Walls and Floors During Cabinet Removal
Pros get rehired because they don’t leave a mess of repairs behind. You can use the same techniques.
Protect the structure
- Put a scrap piece of wood between pry bars and drywall or floors.
- Use wide-blade putty knives as shields when prying trim.
- Don’t yank cabinets; wiggle them free evenly.
Expect some damage—and contain it
Even the best cabinet removal will usually leave:
- Screw holes in studs and drywall
- Stripped paint where caulk was cut
- Minor drywall dents where screws bit too deep
Plan on a patch-and-paint phase in your remodel schedule. Pros factor this in up front, so they’re not surprised by an “extra day” of wall prep.
Secret #10: Safety Habits Pros Never Skip During Cabinet Removal
You don’t need to be a pro, but you should copy their safety checklist.
- Eye protection: For flying debris and dust.
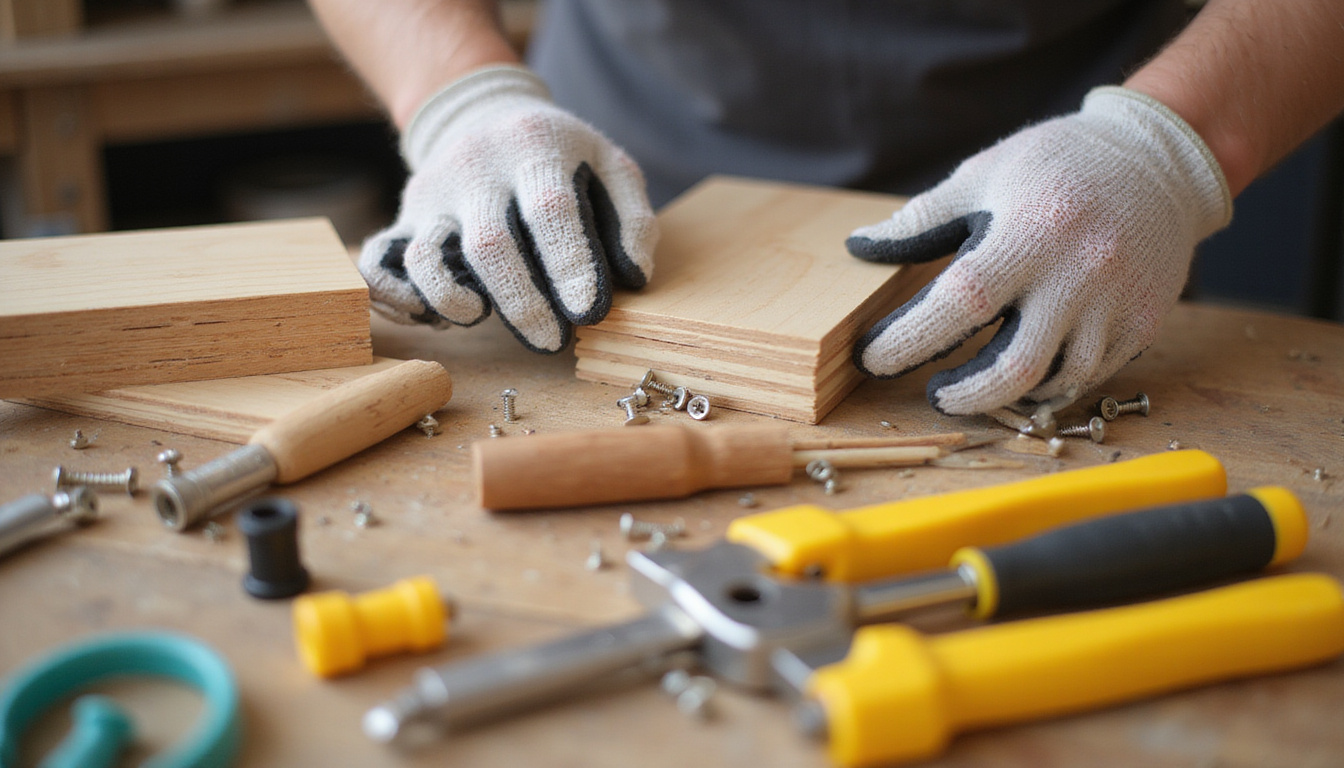
- Gloves: Cabinets often have sharp metal edges and splintered wood.
- Dust mask or respirator: Especially in older homes with unknown dust and potential lead paint.
- Sturdy shoes: Cabinets and countertops are heavy; dropping one on a bare foot is a common DIY injury.
- Helpers: Don’t try to handle large uppers or stone tops alone.
Pros also keep the work area clean as they go. Frequent cleanup reduces trip hazards and helps you see what you’re doing, which is both faster and safer.
Step-by-Step Cabinet Removal Checklist
Use this condensed checklist to guide your project:
- Empty all cabinets and clear nearby rooms.
- Protect floors, vents, and doorways.
- Turn off and verify electricity, water, and gas.
- Set up a demo station (trash, metal, reusable items).
- Remove appliances attached to cabinets or counters.
- Remove countertops (laminate/wood, then stone if present).
- Take off cabinet doors and drawers; label as needed.
- Remove trim, molding, and accessories.
- Remove upper cabinets (check for all screws and caulk).
- Remove base cabinets, cutting any caulk at walls or floors.
- Sort and store reusable cabinets and hardware.
- Inspect and patch walls and floors as needed.
FAQ: Cabinet Removal Questions Homeowners Ask
How much does professional cabinet removal cost?
Professional cabinet removal cost varies by region and scope, but for a standard kitchen it often ranges from a few hundred to over a thousand dollars, especially if countertop and appliance removal are included. DIY cabinet removal can save on labor but may require tool purchases and more of your time.
Can I do kitchen cabinet removal myself without experience?
Yes, many homeowners successfully handle kitchen cabinet removal themselves, especially if they follow a careful, step-by-step process. The keys are shutting off utilities, working in the correct order (doors, uppers, then bases), and using the right tools (drill/driver, pry bar, utility knife, and safety gear).
How long does cabinet removal take for a typical kitchen?
For an average kitchen, DIY cabinet removal usually takes 1–2 days for a couple of reasonably handy people. Pros may complete the same job in half a day to one day, thanks to experience, better tools, and a well-planned sequence.
Ready to Make Your Remodel Faster and Smoother?
Efficient cabinet removal isn’t about brute force—it’s about planning, control, and a few insider techniques the pros use every day. By protecting your space, disconnecting utilities safely, following the right removal sequence, and preserving what has value, you set your remodel up for speed and success.
If you’re gearing up for a renovation, start by planning your cabinet removal using the checklist above. Gather your tools, line up a helper, and decide now whether you’ll reuse, donate, or sell your old cabinets. The more intentional you are at this first step, the cleaner, safer, and faster the rest of your remodel will be.
When you’re ready, take that first screw out—confident that you’re working with the same cabinet removal secrets the pros use to finish jobs on time and on budget.
Junk Guys Inland Empire
Phone: 909-253-0968
Website: www.mediumspringgreen-snake-472026.hostingersite.com
Email: junkguysie@gmail.com